Window projections are one of the most common applications for digital decoration. There are many ways to attach the projection material to the window. Here we show you our current variant.
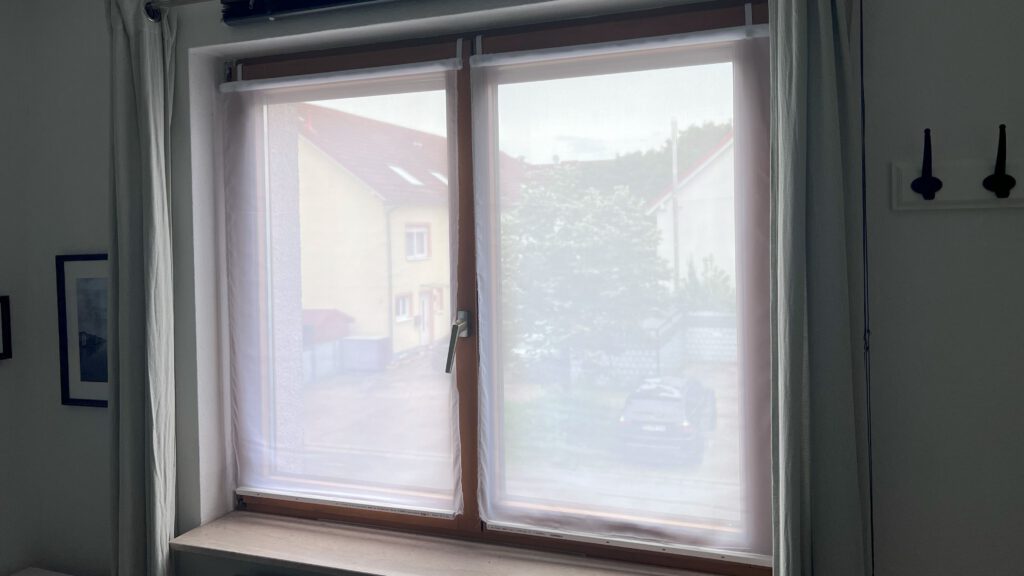
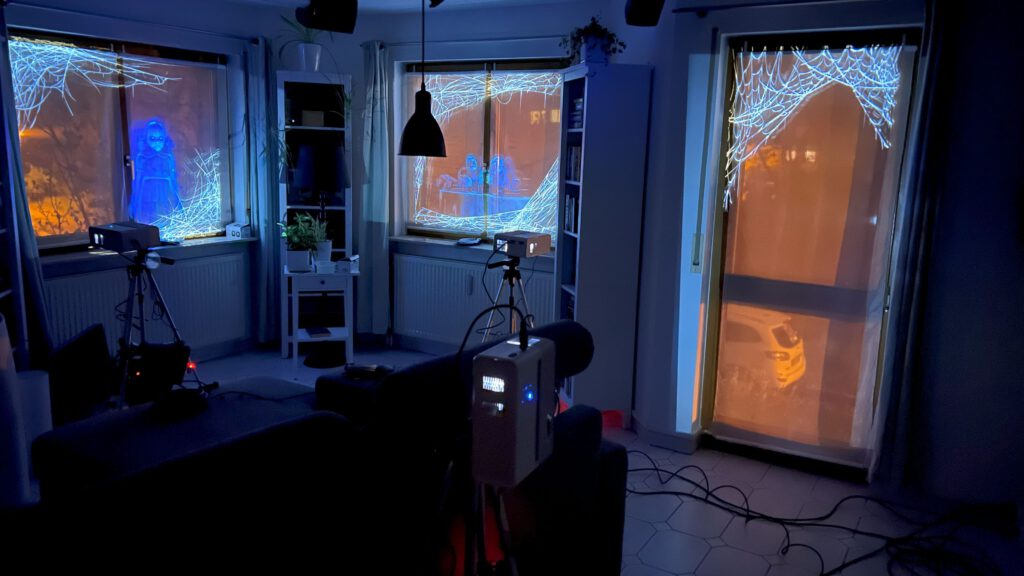
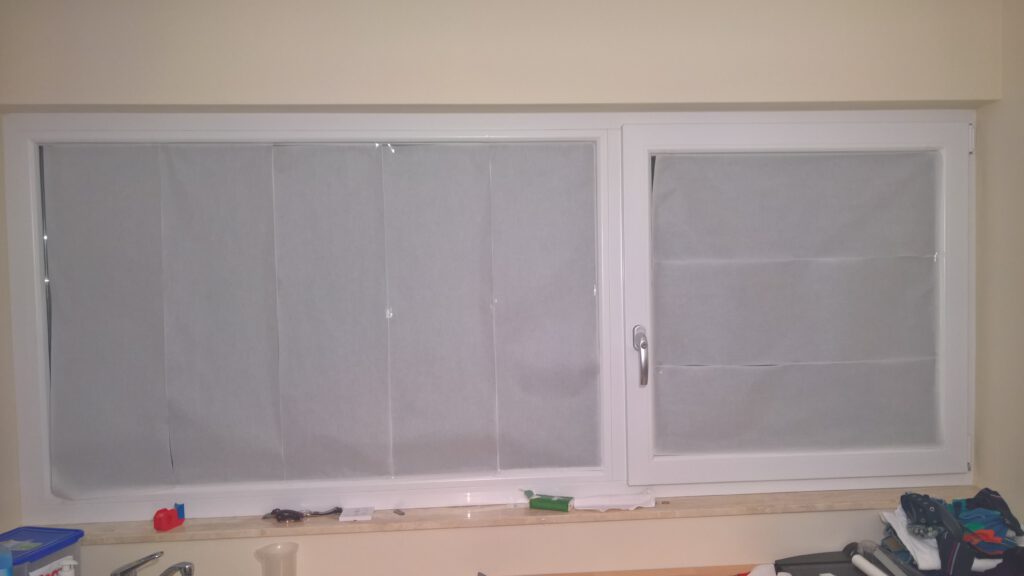
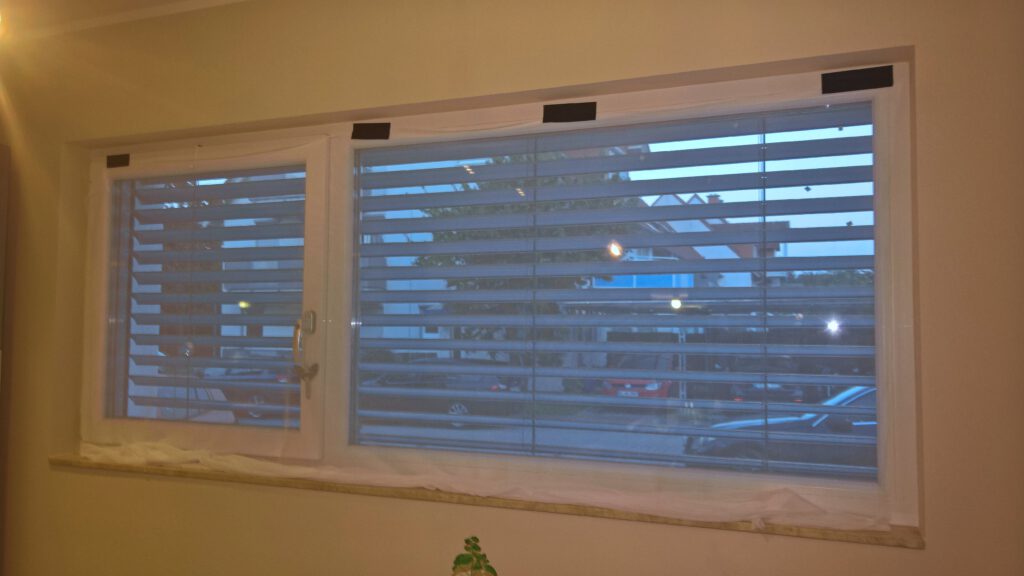
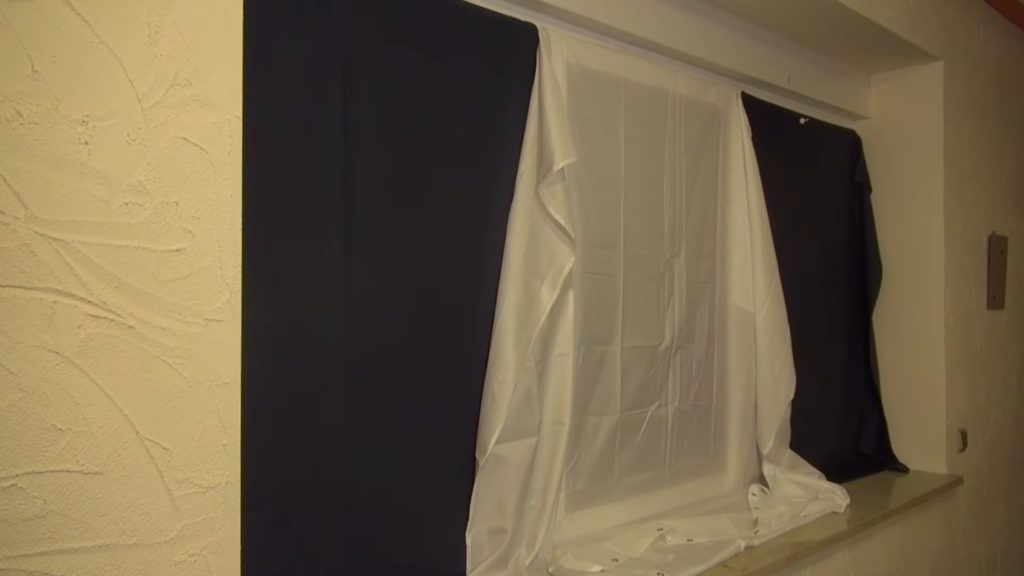
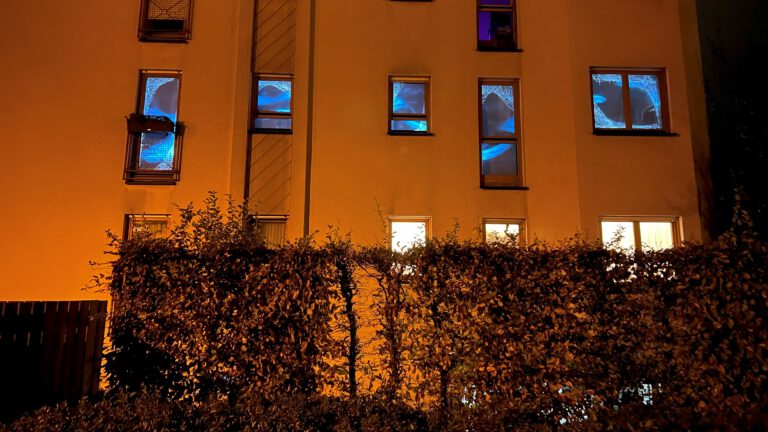
Customer application images

Material list
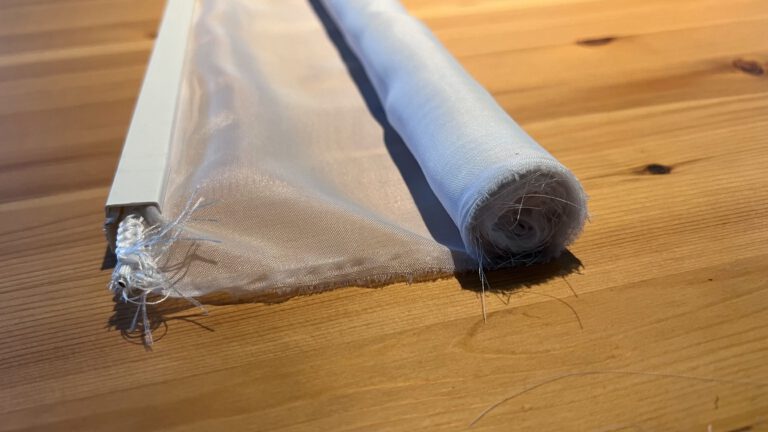
1x Curtain fabric white, by the meter/yard, translucent
Fabric by the meter/yard is typically longer than we need for our application. However, only the width is important to us.
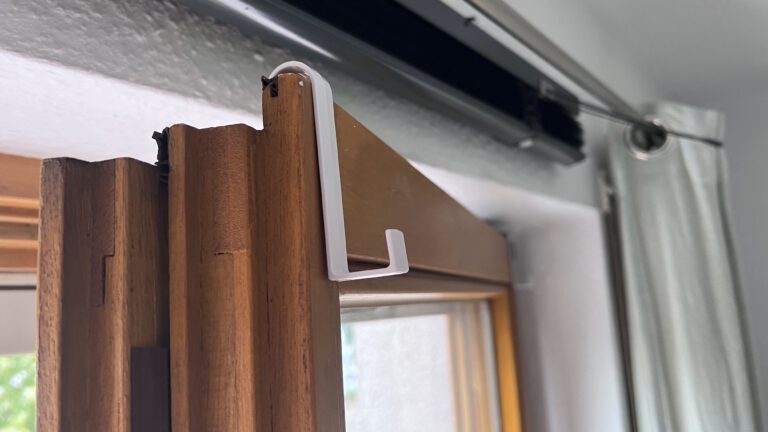
2x Door hook
The material doesn’t matter.

1x cable channel 10×10
It is important that it is not too big, but is sufficiently stable and has a lid that can be “clicked on”.
How-To Guide
- Measure your window

- Purchase the required material
You will find everything you need on the material list
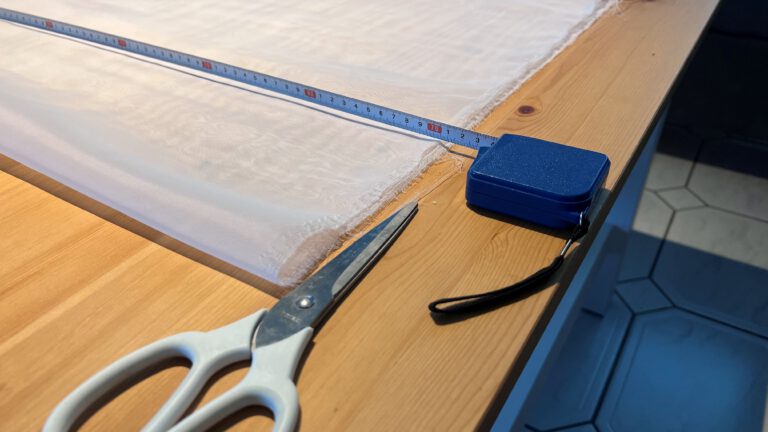
- Cut the fabric to the width of the window
Slightly wider than the glass. The length of the fabric may remain as it is!
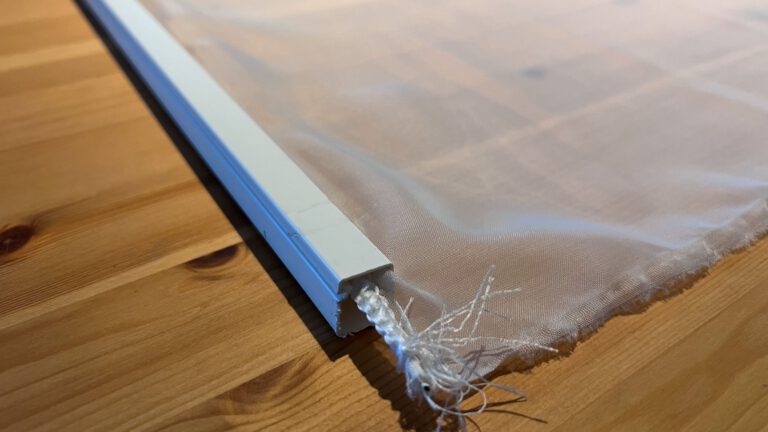
- Cut two pieces of cable duct to the same length as the width of the fabric

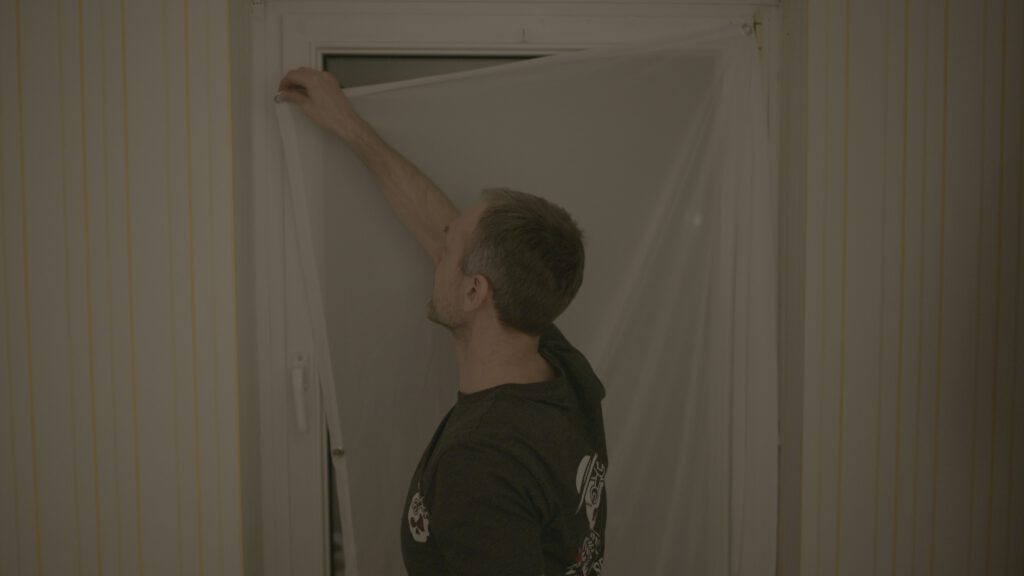
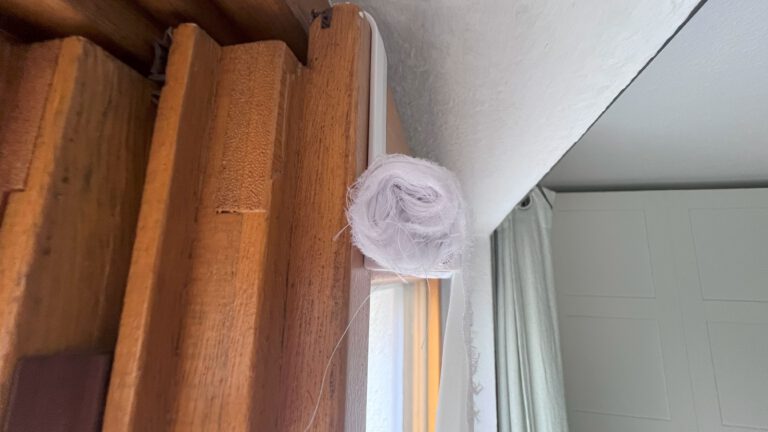
- Clamp a piece of the cable duct to each end of the fabric
- Roll up the fabric around one of the cable ducts
- Attach the two hooks to the top of the window
- Unroll the fabric to the required length and hang it on the hooks
- Your window is now ready for the projector
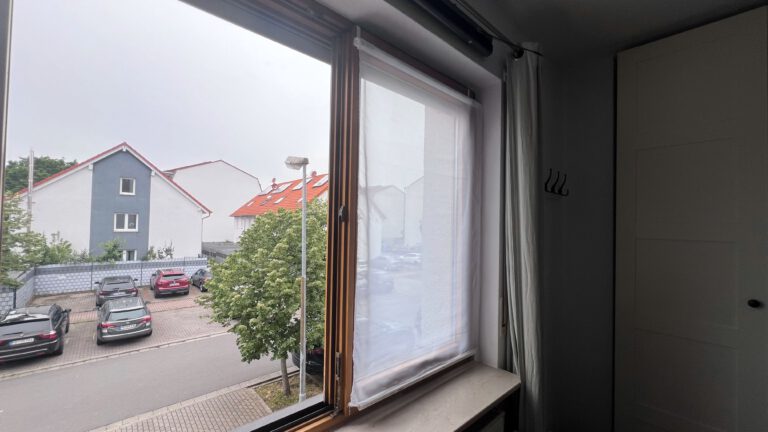
- Equip all other windows with the material

- Enjoy how the projections take over your window
How-To Video
Coming soon
Tips and Tricks
A fabric that is more translucent will be less conspicuous in the window. However, you should bear in mind that you may need a more powerful projector for this.
Help
You have more questions? Then post them in the comments or contact us via the contact form!