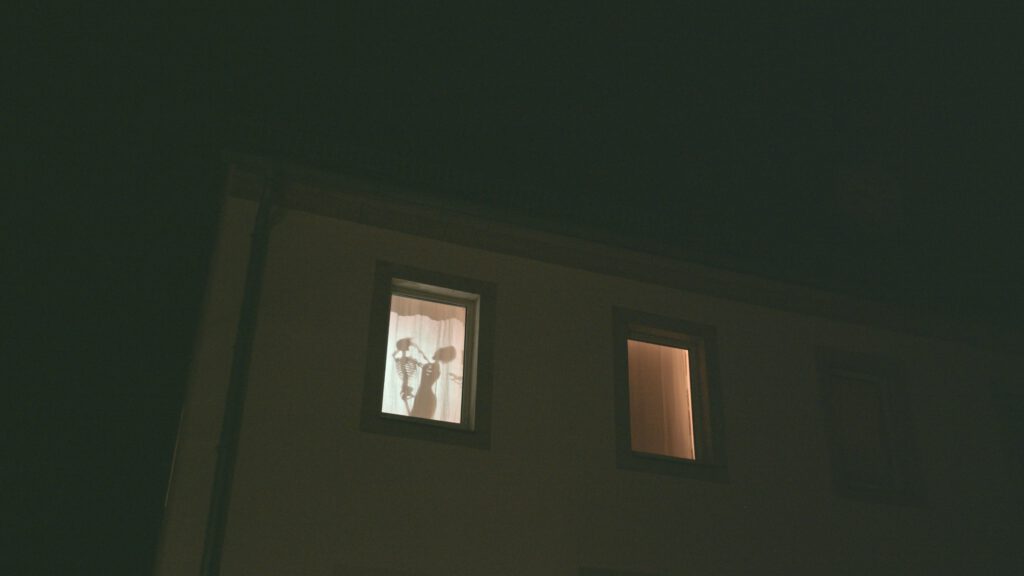
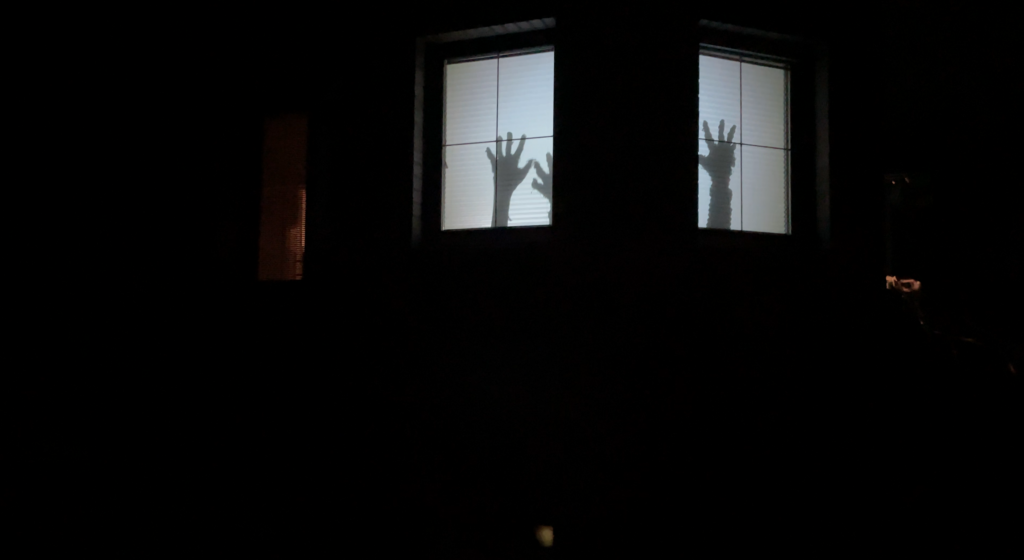
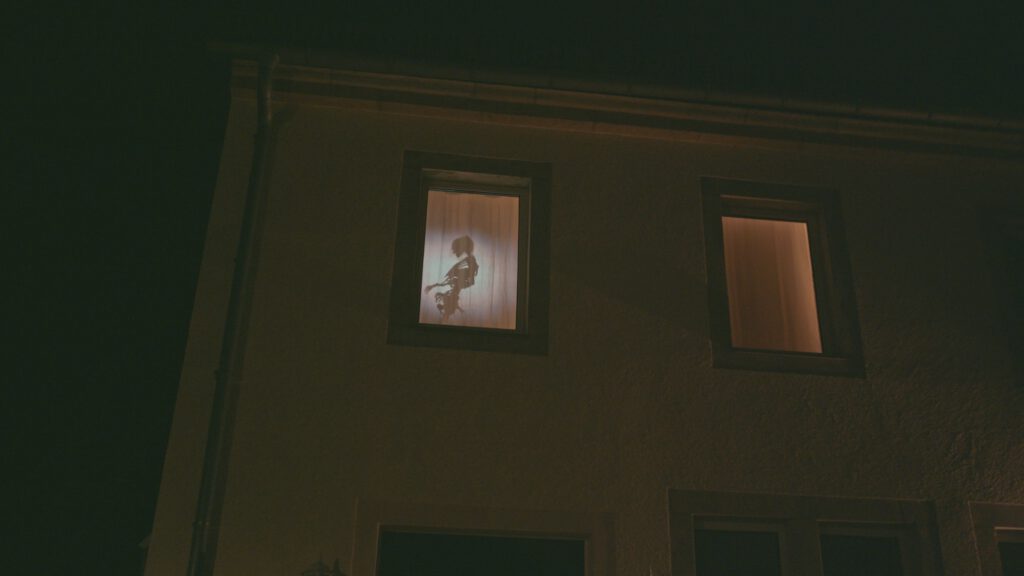
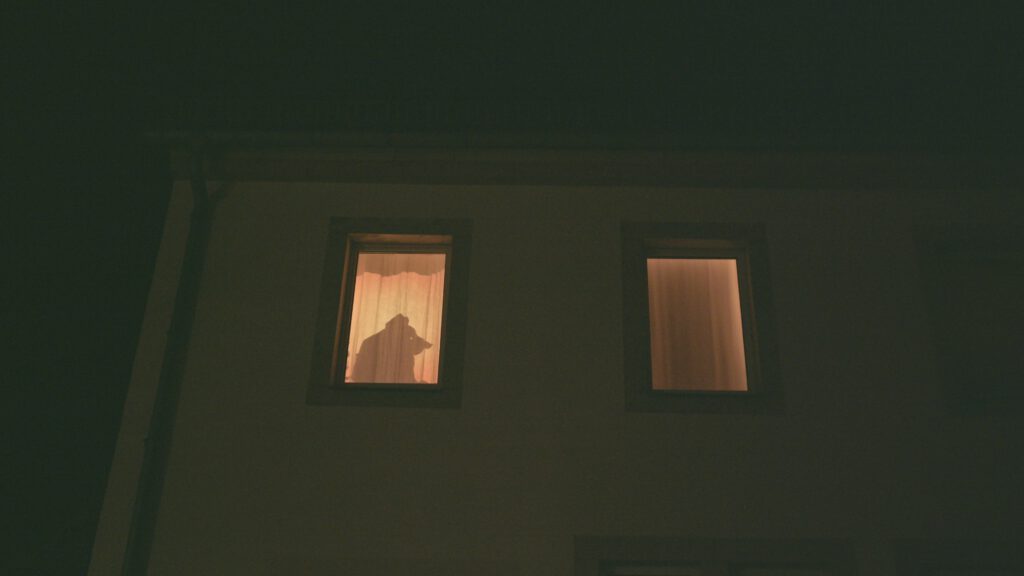
Shadow plays can take place both on the wall and in a window. Especially the projection in a window is very popular here, because as a projection material usually an already existing curtain or sunshade can be used. Since we also do not try to display colors, a good result is very easy to achieve here.
Customer application images
Material list
1x Projector
In general, almost any projector is suitable. Here are a few specs we recommend:
- min. 800×480 pixel
- min. 1000 ANSI-lumens/2000 lumens
Finde more specs and tips at the buyer’s guide for projectors – Start advisor
1x USB-Stick/SD-Card/MediaPlayer/Laptop/PC
What you need here depends on the projector.
- USB Stick/SD-Card: Most TVs today can play videos from USB sticks/SD-Cards. Therefore you do not necessarily need a media player/computer.
- MediaPlayer: Can be very handy if you want to start your setup with a timer. Or want to do something like motion sensors. You can find a list of recommended media players here.
- Laptop/PC: Most of them have a laptop or PC at home and are therefore a good and free alternative before you buy a MediaPlayer.
1x Set of speakers (optional)
Of course, you can also use the projector’s internal speakers. But with small $5 PC speakers, not only will the sound come directly from the projection, but it will sound better in many cases. Keep in mind that you may need an extension wire for AUX and power for the speakers. Bluetooth speakers will also work, but we would also recommend using these by cable, as a cable connection is more stable, easier to set up, works directly, and often with Bluetooth there are slight shifts between picture and sound.
1x Projection material – White semi translucent curtain or similar
You can, of course, use the same materials as for window projection. But we do recommend to use curtains. For this purpose, they should be slightly translucent, so that the shadow comes through on the other side. The color of the curtains does not matter.
Find more tips at the buyer’s guide for projection material – Start advisor
1x Effect video (at least one single video, better one set)
Tricks and Treats
from
AtmosFX Inc.
Price (total): $19
Price (per min): $5.35
Duration: 00:03:33
Frankenstein, Dracula, and the Werewolf come to life in this spooky, family-friendly set of Halloween decorations.
Bone Chillers
from
AtmosFX Inc.
Price (total): $39
Price (per min): $6.27
Duration: 00:06:13
Skeletons rise from the grave to haunt, dance, play music, and engage in slapstick antics.
Shades of Evil
from
AtmosFX Inc.
Price (total): $15
Price (per min): $5.36
Duration: 00:02:48
Thrill your neighbors with a shadowy theater of terror projected in your window, sure to delight any Halloween lover.
Find more and suitable videos on your topic in the purchase advisor – Start advisor
How-To Guide
- Buy a projector
Use the specs from the material list or in our buyers advisor

- Buy semi translucent curtain
Find more information in the material list

- Buy the effect video (One set is enough for the beginning)
There are many themes for digital decoration. Therefore, we recommend you to use our buyers advisor to find the set that best suits your application.

- Download the scenes for the Shadow-Mode
Note: In many sets, a direct download of the intended projection type is not provided, instead it is sorted by horizontal and vertical files. In this case, the videos for the projection type you have in mind are located in an appropriately named folder in the downloaded ZIP directory.

- Unzip the ZIP file
Windows: Right click on the ZIP file => Select “Extract All…”. => Follow the dialog
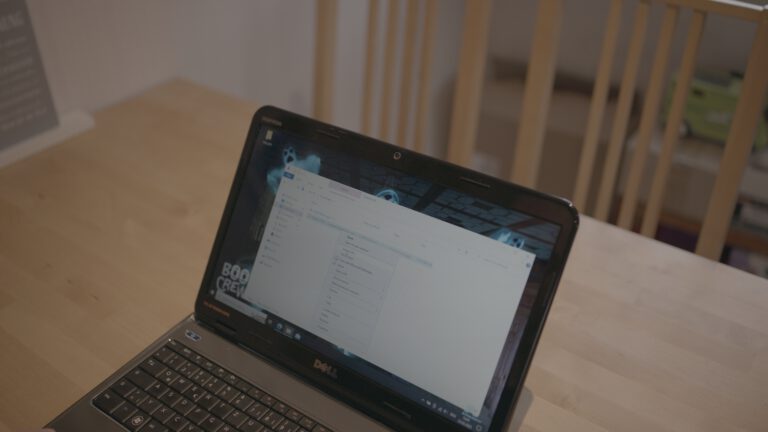
- Transfer the Videos from the folder to an USB stick or SD card which you put into the projector/mediaplayer
Note: Of course you can also use your laptop or PC to play the videos

- Hang the curtains
We’ll explain the best way to do this in the Tips and Tricks section below

- Put the projector behind the window and the curtains and start the video
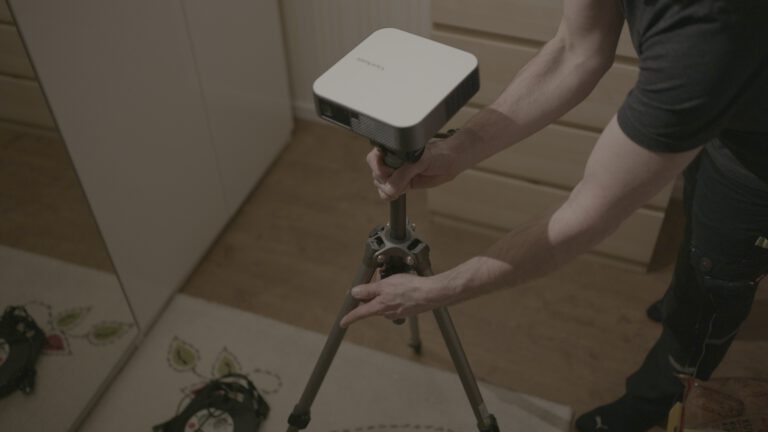
- Align the projector so that its image best fills the projection surface

- Enjoy how your guests are delighted

How-To Video
Tips and Tricks
Let them make nice little waves. This way the image will end up a bit distorted and it will look more realistic!
You can screw many of the small projectors onto a tripod for cameras. This makes the alignment easier. Of course, you can also use a table or shelf.
The videos are only available in English on the AtmosFX website. But thanks to the AtmosFX Translator project by timofischerprojects.com they are now also available in German. You can find more information here.
Help
You have more questions? Then post them in the comments or contact us via the contact form!